
Can you actually believe that I finally have the spare time, energy to do my own Pinterest project? I can hardly believe it. It seems like forever since I was able to start and complete a fun project!
After unpacking everything we own, I realized how desperately I needed a filing cabinet. After looking at all the cute upcycle ideas on Pinterest I figured this could be a fun yet totally practical project.
Here's my first project from start to finish. I am also happy to say that this was all completed in just one day, for a grand total of $47, including buying the filing cabinet!
I found a 4 drawer filing cabinet on Craigslist for $20 and the kids and I went to pick it up this morning.

Filing cabinet in original condition
STEP #2: PREPARE CABINET FOR PAINTING
I removed all the drawers, sanded the entire cabinet, drawers too, and then wiped it all down with a damp soft cloth so I'd have a clean surface to work with. For the sanding I used a fine grit sponge sanding block {shown below}.

I read several other blogs and people have done this both ways, with primer and without. I figured to go with the primer. I didn't want to regret it afterwards. It only took an extra 10 minutes.


I also primed the grey plastic pull handles since they couldn't be removed.
The neutral primer color will match the fabric better than the original grey color.
STEP #4: APPLY LIGHT COAT OF PAINT TO CABINET EXTERIOR
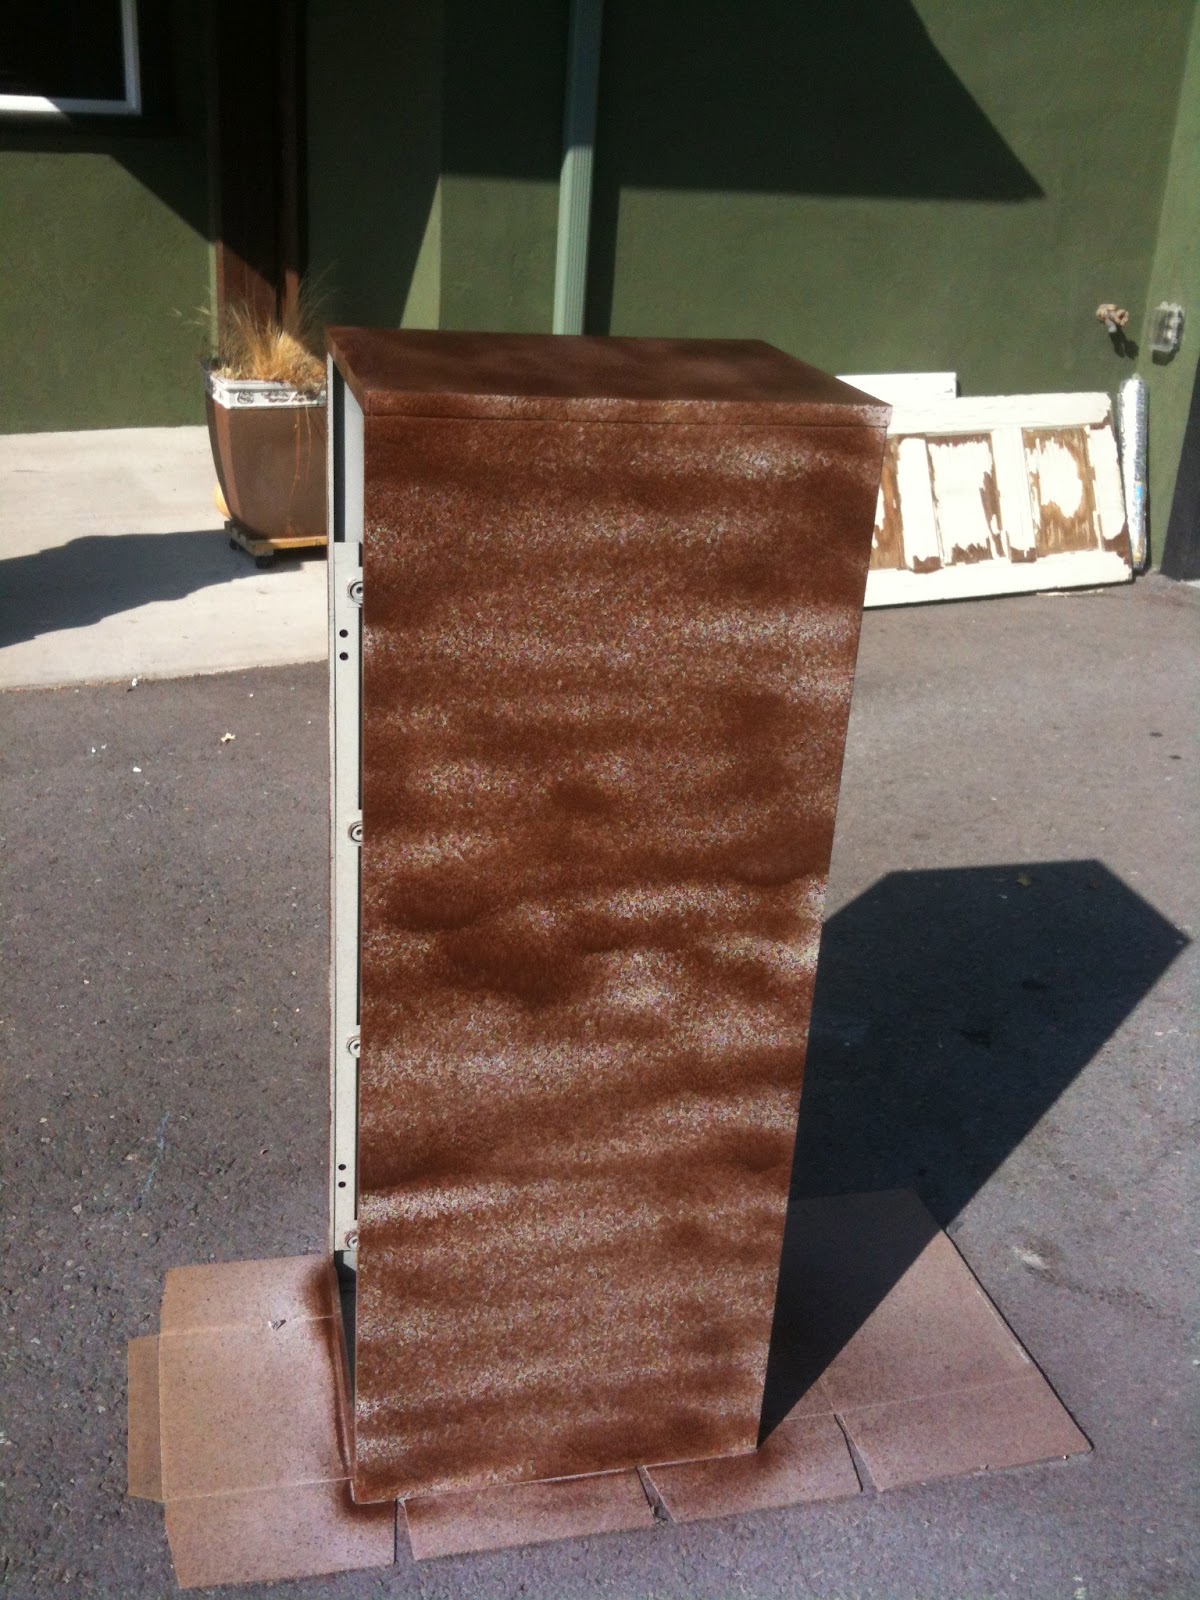
You can learn from my mistake here. There was a little, white plastic piece on my spray paint nozzle when I removed the lid. I made the mistake of pulling this piece off instead of pushing it in. I didn't realize it was the actual nozzle!! {I have not used spray paint in a LONG time!} It's a LOT smaller than the older version, so I didn't recognize it as the nozzle. So here is my botched first coat of paint. I also wasted TONS of paint because of this mistake. I could of probably or very nearly finished this cabinet with one can of paint instead of two.


STEP #5: BE PATIENT & APPLY MORE COATS PAINT
Even though the first coat looked HORRIBLE, I knew it would even out if I was patient and waited before applying a second and even third coat. This paint dries so quickly, we even had time to take a break and go to the park!! Give yourself lots of time to do 2-3 coats of paint and it will be worth it!


See?! Nice and even :)
STEP #5.5 - MOD PODGE FABRIC {OR SCRAPBOOK PAPER} TO DRAWER FRONTS
I chose to use fabric for a couple different reasons. I liked the idea of the texture and the flexibility of the fabric. It just seems more forgiving and even maybe more durable than scrapbook paper, and since I found five co-ordinating pieces for $4.47 how could I go wrong?
I started working on the drawers between coats of spray painting the cabinet. I used a wide, flat brush to smear a thin layer of mod podge over the entire surface of the drawer. I even smeared it under the handle so I could put the fabric all the way under the handle. I cut a slit in each corner so it would fold nicely. I used tons of extra mod podge on the edges and corners so that I wouldn't have any lift down the road. We'll see how that plan turned out...


STEP #6: WAIT FOR EVERYTHING TO BE THOROUGHLY DRY
I gave the cabinet and drawers plenty of time to dry, so that there wouldn't be any smudges etc.
STEP #7: PLACE DRAWERS BACK IN THE CABINET
After making sure everything is dry, carefully place the drawers back in the cabinet. Voila!! Filing cabinet makeover complete!!

So what do you think? Do you like the color selections? What would you have done differently?
Thanks for sharing in my first Pinterest project!
Jenn


Looks fabulous! Can't wait to start pinteresting my own projects!!! And I can't wait to VISIT YOU!!!! Miss you!!! When do we get to see the house?? xxxx
ReplyDeleteHey Jill!! I can't wait to visit too :) As soon as everything is unpacked, organized, and my all my picture frames are up I will post a "virtual" tour of the house. Big hugs!!!!
Delete